Preparation
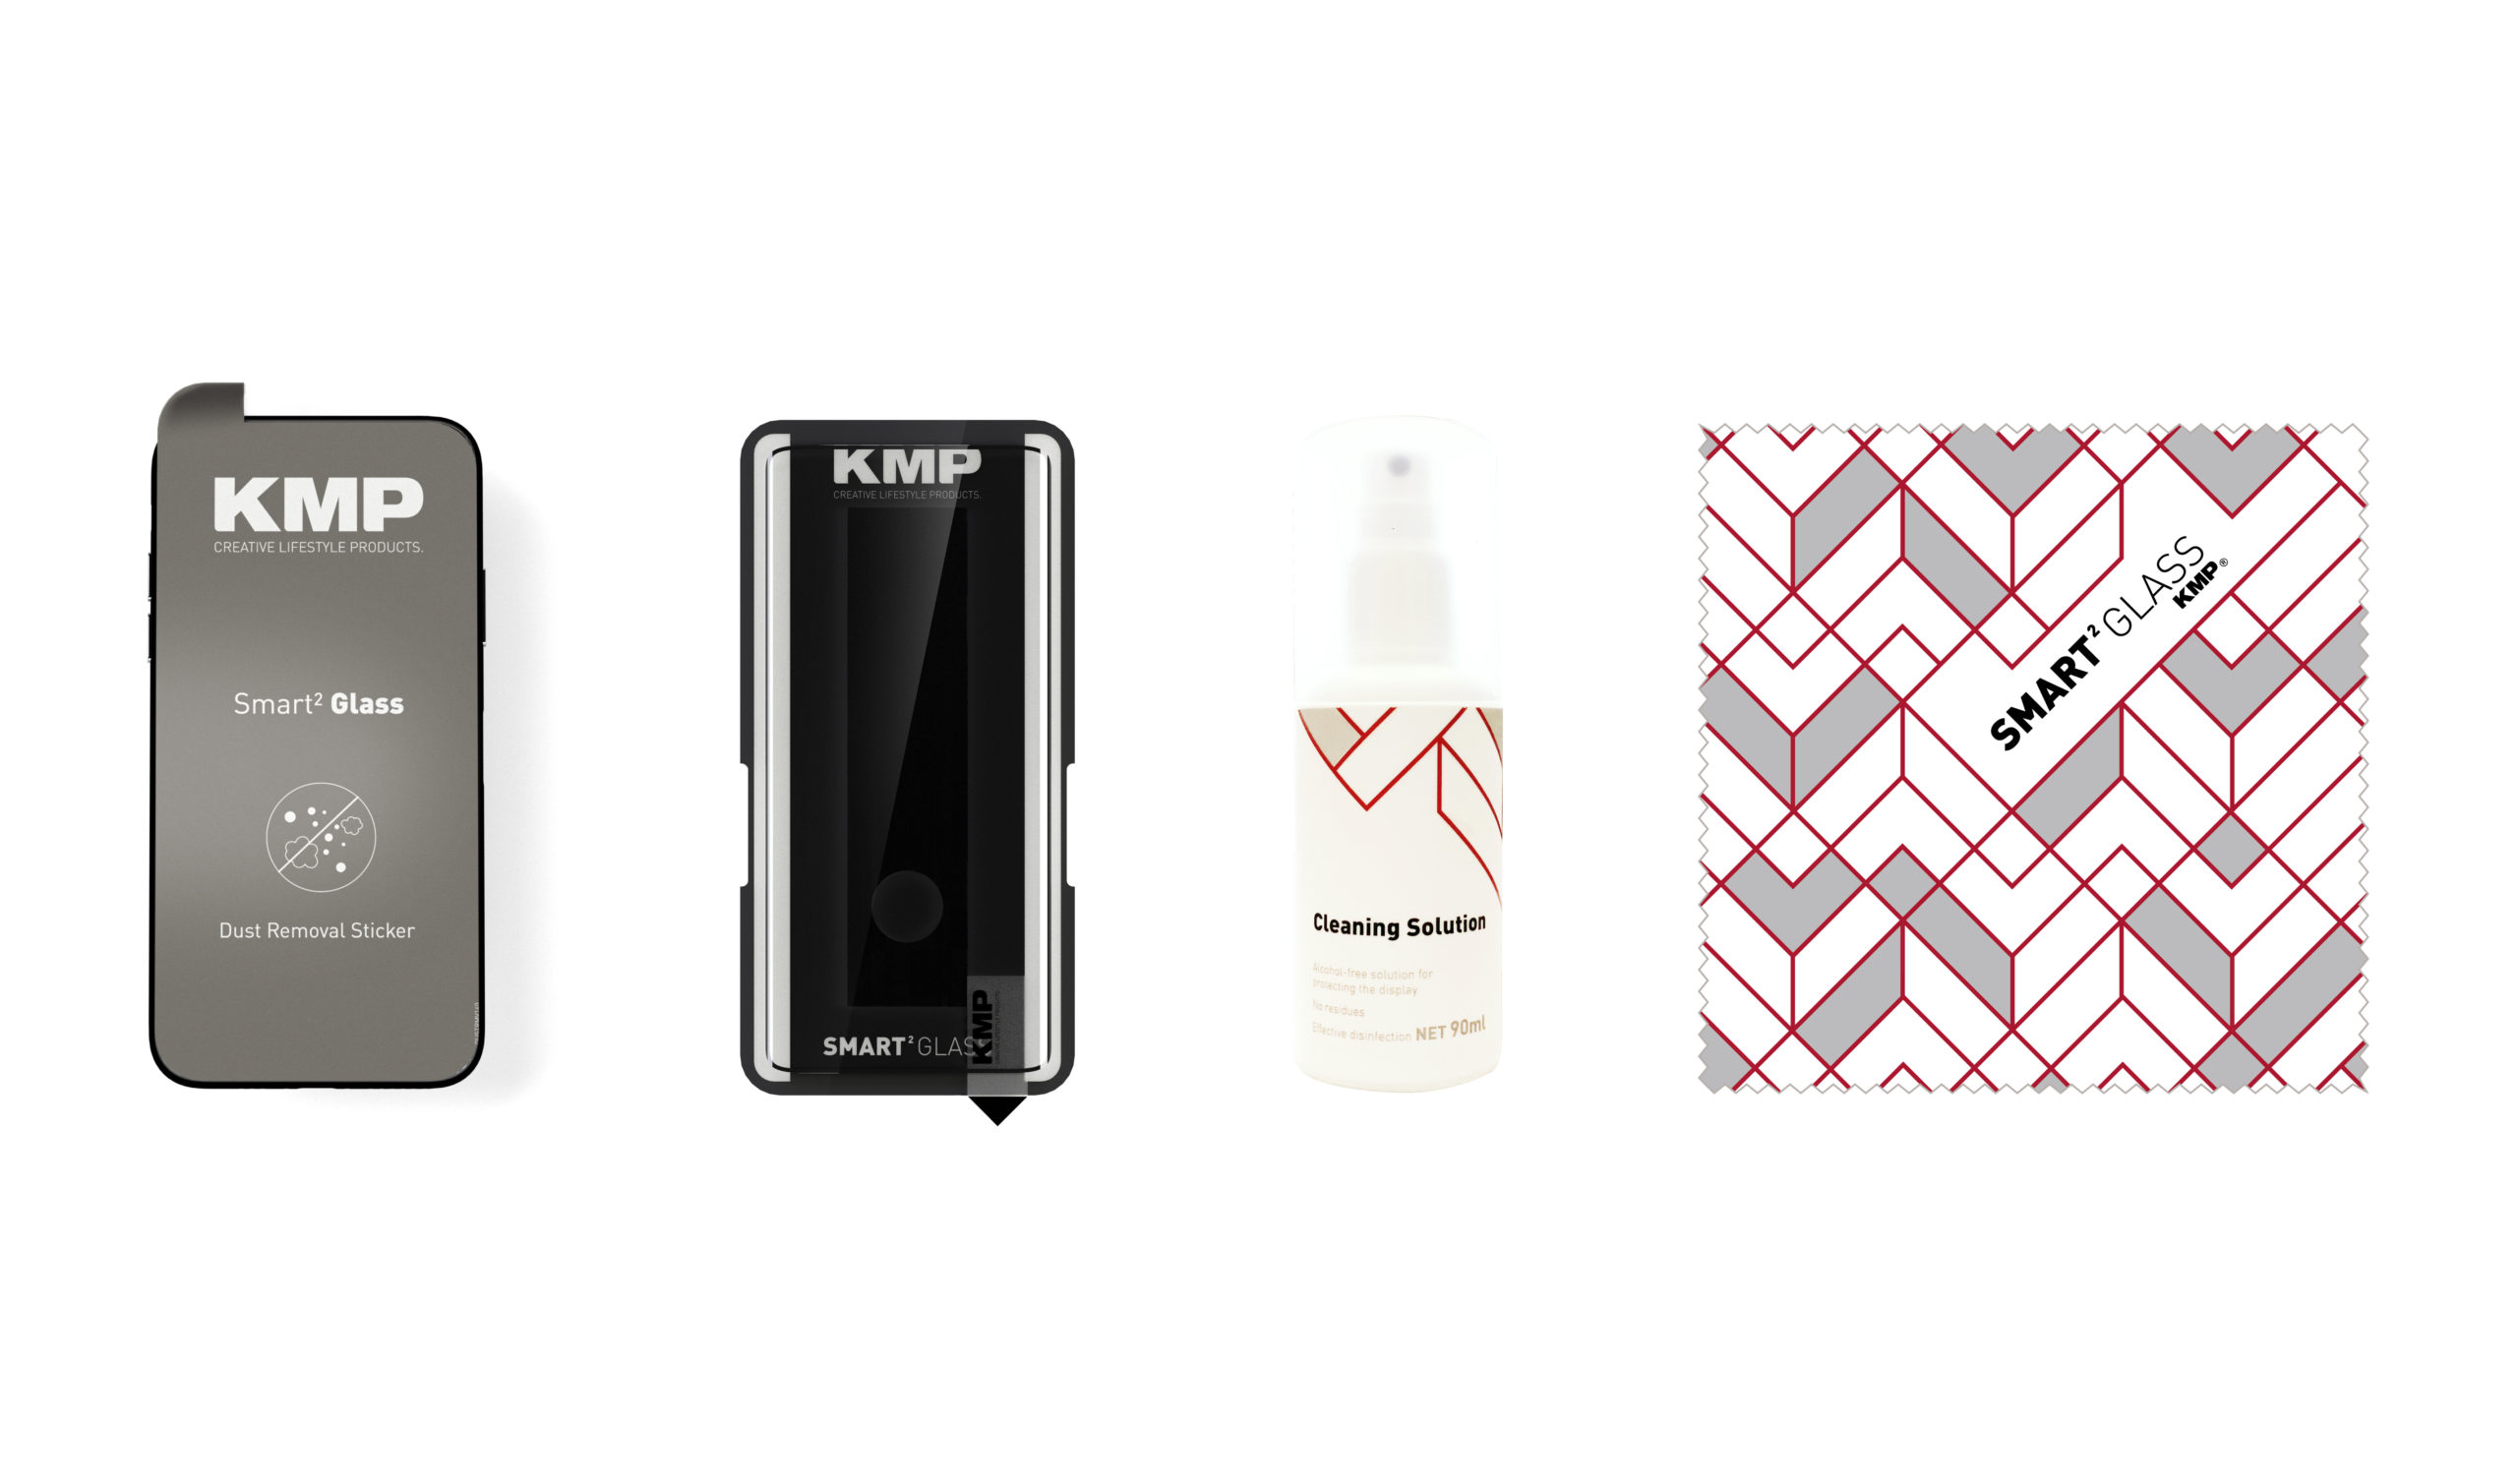
Before installing the glass, remove any protective film or screen protectors on the device and make sure that your smartphone display is thoroughly cleaned with the cleaning solution provided. Next place the KMP Dust Removal Sticker (sticker is in the bag together with the glass) on top of the display, so that dust and dirt can no longer settle on the display (please leave the sticker on the display during installation).
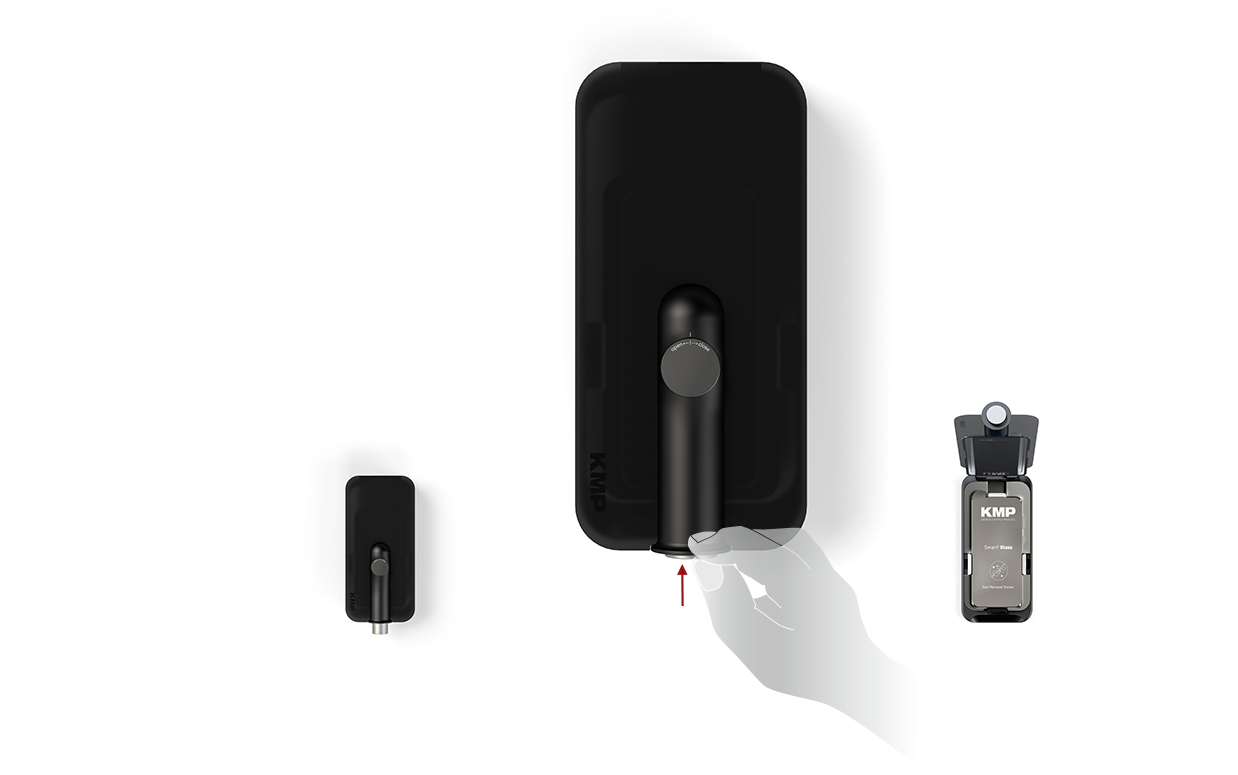
Make sure that the vent screw is closed. (Close by turning clock wise so the lines are aligned)
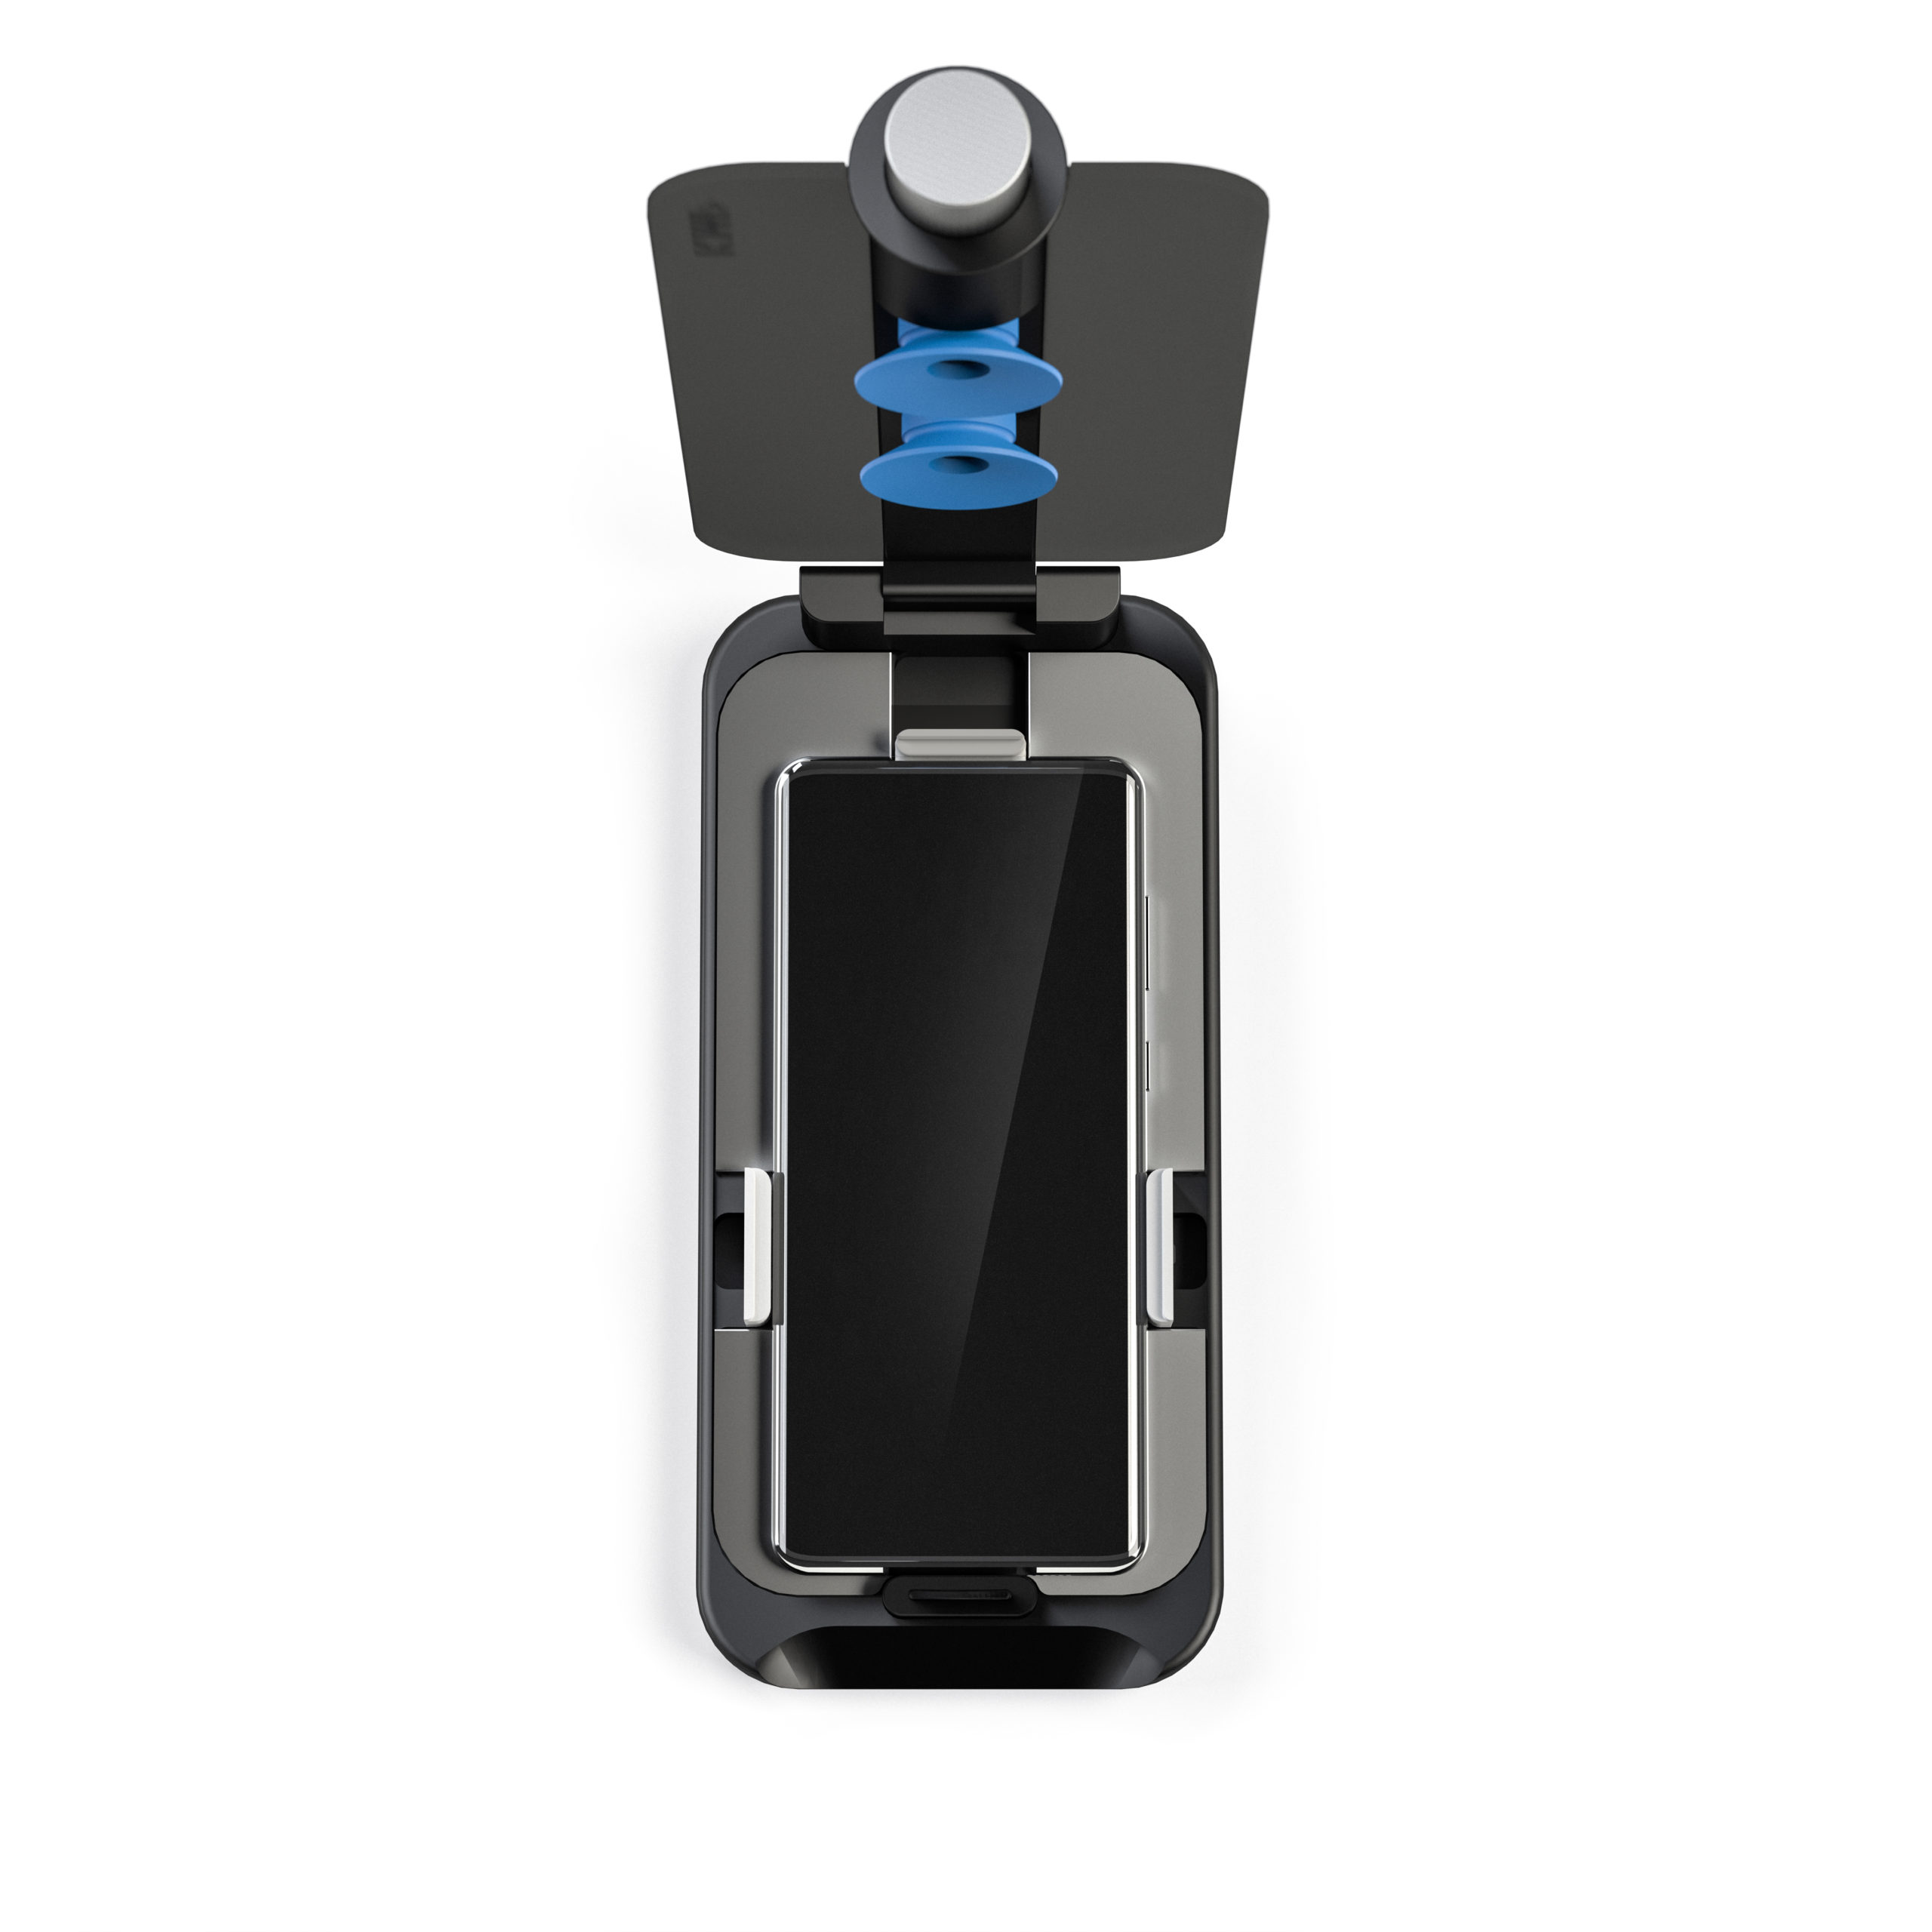
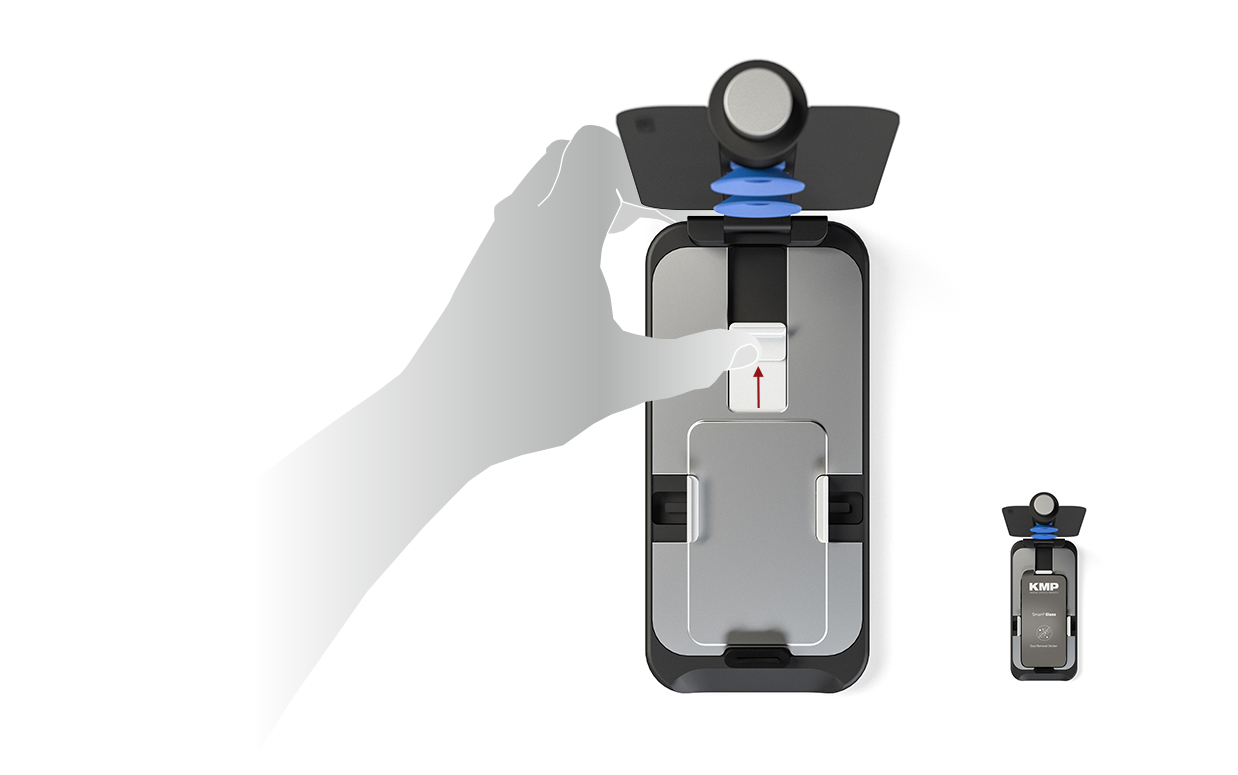
1. Insert the smartphone
Open the lid of the machine. Slide the upper grab all the way up (hold position) and insert the smartphone as shown. Now slowly release the upper grab so that the smartphone is automatically positioned.
TIP: Press the gripper with the thumb of your left hand and hold it with your index/ middle finger from behind. Sudden release of the gripper can cause damage to the smartphone.
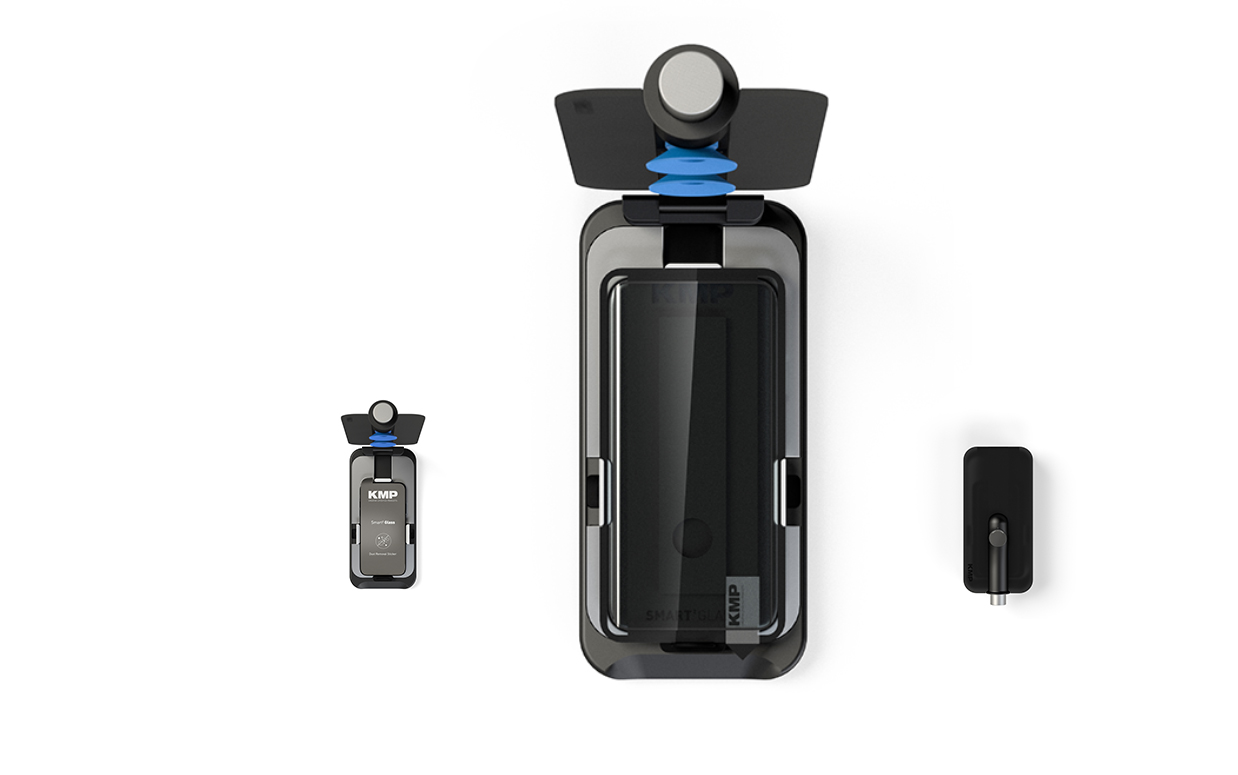
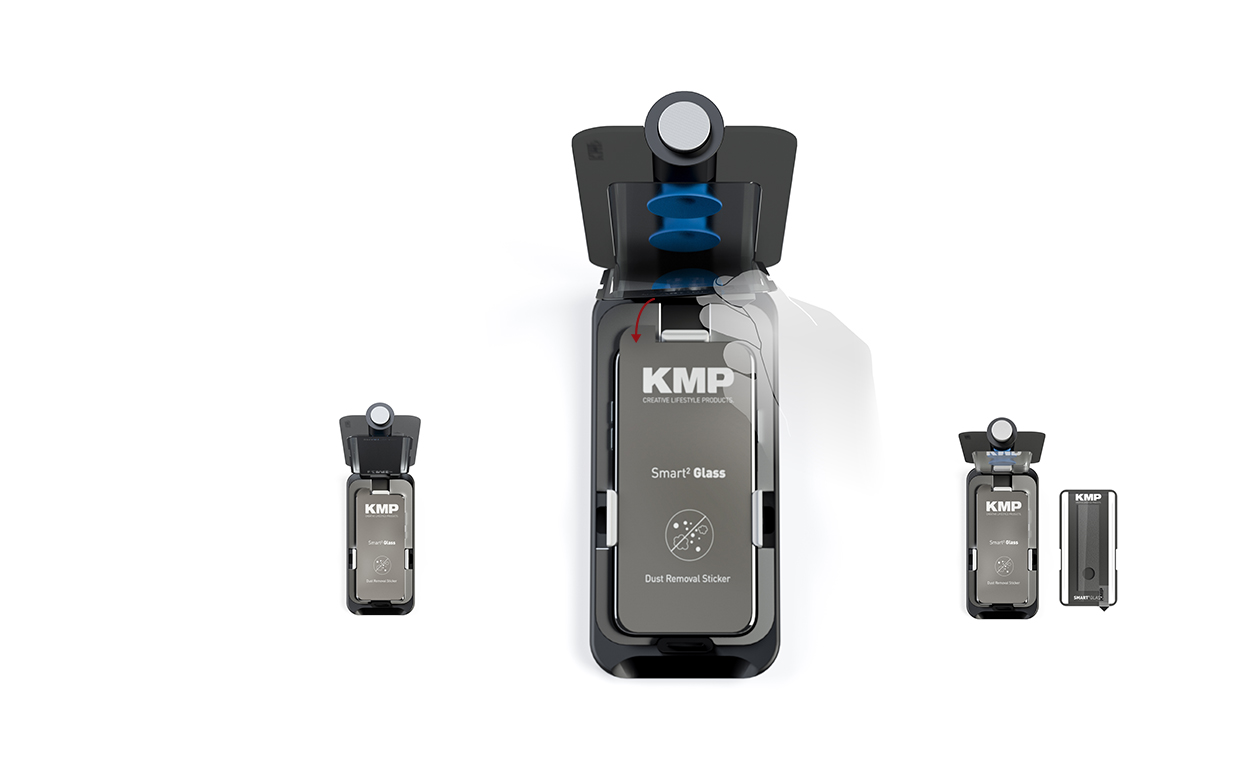
2. Insert glass
Now take the smart glass out of the bag. Place the glass flat on the display, using the indents on glass and the recesses on the side holders of the machine so it lies flat. Important: You must be able to read the writing on the glass/backsheet! Close the lid slowly.
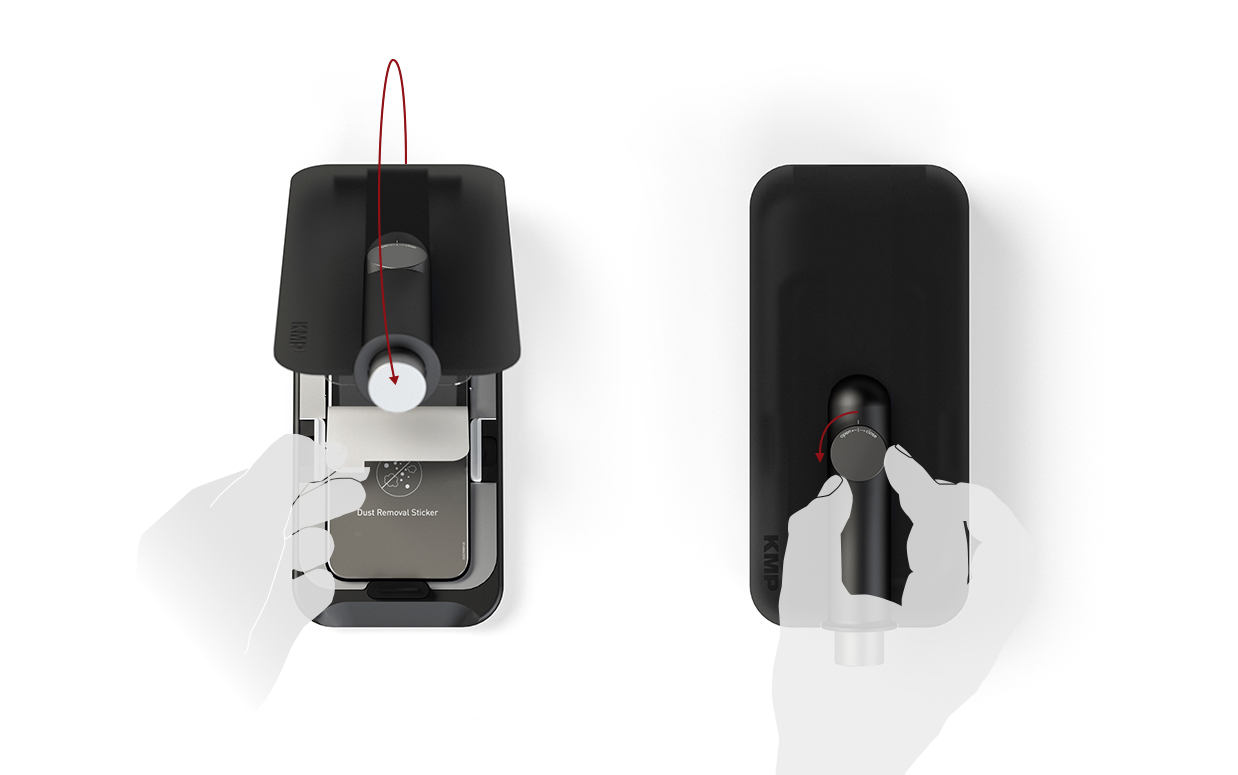
3. Glass Suction
Press the vacuum knob once until it stops and release it slowly. Now open the lid. The glass should now be stuck to the reverse of the lid.
TIP: For optimal suction, only about 2mm of the knob should be visible when the vacuum knob is pressed. A light pressure on the lid helps to ensure airtight suction of the glass.
4. Pull off Backsheet
To remove the backsheet, hold the middle of the lid with your left hand, placing your thumb on the lower suction cup to stabilize. Now grasp the KMP pull tab with your right hand (thumb and forefinger) and pull the backsheet towards you, slowly and carefully with a little force. Once the backing sheet begin to detach release the pressure of your left hand thumb.
TIP: Jerky or asymmetrical removal of the backsheet can shift the glass and lead to an inclined mounting. Once the backsheet is removed, you should work quickly to avoid dust.
5. Mounting the glass
!(Please read the instruction completely before you start with the execution. Afterwards, please make sure that the following steps are carried out as quickly as possible to avoid the formation of large bubbles)!
Now close the lid. As soon as the lid is closed, turn the vent screw anti clockwise to release the suction. (A quarter turn of the wheel is sufficient). Leave the screw open and open the cover again.
TIP: To minimise the risk of dust, remove the Dustremoval sticker just before the glass rests on the display.
6. Fine tuning
Now spread the enclosed microfibre cloth over the entire edges of the glass to firmly attach the adhesive of the protective glass to the display of the mobile phone.
6.1 Press the fingerprint recess
! Next step is only necessary if there is a fingerprint recess in the glass.
The last step is to connect the adhesive surface in the fingerprint recess to the display with the help of an enclosed squeegee. To do this, exert some pressure on the squeegee and slowly and carefully stroke the entire surface until no more bubbles are visible.
NOTE: After you have connected the adhesive surface to the display, please wait about 2 minutes before using the sensor so that the mobile phone can optimally recognise your fingerprint.